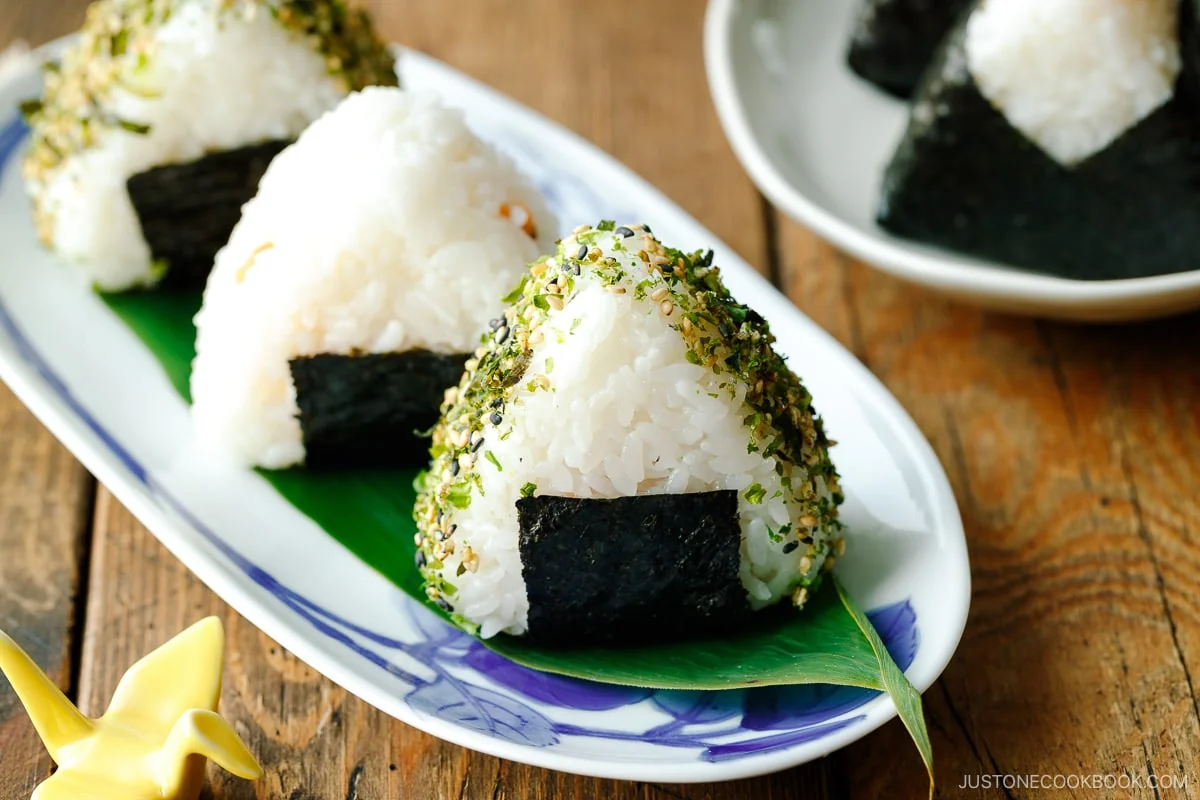
Onigiri (Japanese Rice Balls)
Timing
Ingredients
- 2¼ cup uncooked Japanese short-grain white rice
- 2½ cup water ((600 ml))
- Diamond Crystal kosher salt
- 3 sheets nori (dried laver seaweed)
- to 2 fillet salmon
- Diamond Crystal kosher salt
- 1 packet katsuobushi (dried bonito flakes) ((one packet is typically 3 g or 5 g))
- 1 tablespoon soy sauce
- 1 (5-ounce) can albacore tuna (preferably packed in olive oil)
- 2 tablespoon Japanese Kewpie mayonnaise
- ½ tablespoon soy sauce
- 2 umeboshi (Japanese pickled plum)
- 2 sacs spicy salted pollock roe or cod roe (karashi mentaiko)
- shio kombu ((prepared))
- furikake (rice seasoning)
Instructions
To Prepare the Steamed Rice
1. To measure 2¼ cups uncooked Japanese short-grain white rice, overfill a US cup measure (a ¾-cup measure works well for this) or a rice cooker cup with uncooked short-grain rice and level it off. Put the rice in a large bowl. Repeat until you have the amount of rice you need. Tip: Please note that 2¼ cups (450 g, 3 rice cooker cups) of uncooked Japanese short-grain rice yield 6⅔ cups (990 g) of cooked white rice. This is enough for 9 onigiri rice balls (typically 110 g each). One cup of cooked white rice weighs about 5.3 oz (150 g). 2. Next, rinse and wash the short-grain white rice and cook it with a rice cooker, pot over a stove, Instant Pot, or donabe. Please follow the detailed instructions in any one of these posts for how to rinse and cook the rice. Here, I‘m adding 2½ cups water to the drained rice in a rice cooker. Tip: The rice-to-water ratio is 1 to 1.1 (or 1.2) for Japanese short-grain white rice. This rice requires a soaking time of 20–30 minutes. Please read this blog post for a detailed explanation.
To Prepare the Onigiri Fillings
1. While the rice is cooking, let‘s prepare the ingredients for the fillings. 2. Japanese Salted Salmon Filling: Place 1–2 fillet salmon on a baking sheet lined with aluminum foil (for broiling) or parchment paper (for baking). Sprinkle Diamond Crystal kosher salt on both sides. Tip: This is a quick version of salted salmon; for the traditional method, see my Japanese Salted Salmon recipe. 3. Broil or bake at 425ºF (218ºC) in a toaster oven or standard oven for 10–20 minutes. Japanese salted salmon is cooked until well done (you want it dry and flaky). Break the cooked salmon into flakes and set aside. 4. Okaka Filling: Put 1 packet katsuobushi (dried bonito flakes) in a bowl and add 1 Tbsp soy sauce. Mix to combine. The katsuobushi should be moistened but not drenched in the soy sauce. 5. Tuna Mayo Filling: Put 1 (5-ounce) can albacore tuna (preferably packed in olive oil), drained, in a bowl. Add 2 Tbsp Japanese Kewpie mayonnaise and ½ Tbsp soy sauce. Mix to combine. 6. Umeboshi Filling: Remove and discard the seed from 2 umeboshi (Japanese pickled plum) and put the umeboshi flesh on a small plate or bowl. 7. Mentaiko Filling: Cut 2 sacs spicy salted pollock roe or cod roe (karashi mentaiko) in half and squeeze out the roe from the sacs with your hands or a knife. Set aside on a small plate or bowl.Shio Kombu Filling: Put the prepared shio kombu in a bowl for easy access later.
To Shape the Onigiri
1. Gather all the ingredients to make the onigiri and a bowl filled with water for your hands. If you are shaping the onigiri with your hands, transfer the freshly cooked rice to a large bowl, baking sheet, or sushi oke (hangiri) and let it cool slightly until it‘s cool enough to handle. The rice should be warm when making onigiri.
Method 1: With an Onigiri Mold
1. Prepare another bowl filled with water. Soak the onigiri mold and lid in the water to moisten so the rice doesn‘t stick to it. Remove the mold and drain the excess water. Next, sprinkle salt in the moistened mold. Salt is used not only for seasoning but also for food safety. 2. Fill it halfway with warm rice, making sure the rice is filled to the corners. Add a spoonful of your filling of choice. 3. Fill the rest of the mold with more rice, all the way to the edges. Sprinkle the top of the rice with more salt. 4. Cover with the lid and push down firmly. You should feel a slight resistance to it; if not, you may want to add a bit more rice. Remove the lid, flip the mold over, and push the “button” to release your onigiri onto a baking sheet or plate lined with parchment paper. Repeat with the remaining rice. Tip: Always dip your fingers in water before touching the onigiri to prevent the rice from sticking to your fingers.
Method 2: With Your Hands
1. First, wet both of your palms with a bit of water to prevent the rice from sticking to your hands. Then, apply some Diamond Crystal kosher salt and spread it on both palms. How much salt? I dip 2–3 fingers in the kosher salt, as pictured below. If you are using table salt, use half the amount as it’s saltier than kosher salt. 2. Scoop a handful (about ⅓ cup, 50 g) of slightly cooled but still hot rice onto your left (non-dominant) hand. Tip: Your left hand holds the rice ball and flattens the onigiri’s sides. Always keep it underneath the onigiri. Create a small well (indentation) in the center of the rice. Add 1–2 tsp of one kind of filling inside. 3. Scoop some more rice (another ⅓ cup, 50 g) to cover your filling completely. Mold the rice with your hands and gently press the rice around the filling to form the rice into a ball. 4. Bend your right (dominant) hand slightly to form a “mountain” shape and place it on top of the rice. Your right hand forms the triangle corners of the onigiri. Always keep it on top of the rice ball.Gently press the rice with your top hand to make a triangle corner. Tip: Make your hands just firm enough so the onigiri doesn’t fall apart, but don’t squeeze too tightly. Try to keep the density of the rice ball as airy as possible.At the same time, squeeze the fingers and heel of your bottom (left) hand on either side of the onigiri to gently press the sides flat.Now, rotate the triangle corner you just made toward you. I use a single upward motion to barely toss the rice ball in my bottom hand while I use my top hand to rotate it toward me clockwise (since I’m right-handed). The first corner will now point at you while the tip of the second corner points up.Repeat the “press and rotate” steps to form the second and third triangle corners. Then press and rotate 2–3 more times to finish shaping the triangle. 5. Turn the rice ball on its side and press gently to flatten one side; repeat on the other side. Then, press and rotate one last time. Transfer to a baking sheet or plate lined with parchment paper. Repeat with the remaining rice.
Method 3: Using Plastic Wrap
1. If you don‘t want to touch the rice with your bare hands, you can use this method. Also, use this method when you are packing onigiri for lunch. Place a piece of plastic wrap in a rice bowl (or any small bowl) and sprinkle some Diamond Crystal kosher salt (remember, salt is used here to preserve the rice for a long time). 2. Put the rice on top. If you‘d like to add a filling, create a small well (indentation) in the center of the rice. Put one kind of filling (about 1–2 tsp) inside. 3. Then, scoop some more rice to cover your filling completely and sprinkle some salt on top. 4. Gather the corners of the plastic wrap and twist the plastic a few times to tighten it around the rice. 5. Form the rice into a triangle shape in the same manner that I described above. Garnish with furikake and/or nori, if desired.
To Coat with the Furikake
1. Remember, dip your fingers before touching the onigiri to prevent the rice from sticking to your fingers. 2. Coat the three sides of the onigiri with furikake (rice seasoning).
To Wrap with the Nori and Serve
1. Toast 3 sheets nori (dried laver seaweed) over an open flame one by one. 2. Then, cut them into thirds, parallel to the lines on the nori sheet. 3. Style A: Wrap a strip of nori on one side of the onigiri. For this style, you may need to cut the nori into shorter and narrower strips. 4. Enjoy the onigiri warm or at room temperature. 5. Style B: Wrap the onigiri with a piece of nori seaweed. If you like crispy nori, then wait to wrap the nori until right before consuming the onigiri. Make sure to keep the nori in an airtight container or bag so it will not get stale. 6. Place a little bit of each filling on the tip of the onigiri so you can identify which filling is inside. Enjoy the onigiri warm or at room temperature.
To Store
1. If you‘d like to pack Onigiri for your lunch, keep it cool and consume it within 6 hours. Onigiri (or any rice dish) gets hard when you refrigerate it. The cold air makes the rice dry and hard. I don‘t recommend making onigiri too far ahead of time. But if you really need to, my trick is to wrap the onigiri with thick kitchen towels and store it in the fridge. The onigiri will be cool and safe but should not get cold. 2. If your onigiri has dried out a bit, you can grill it in a frying pan and baste it with soy sauce to make Yaki Onigiri.
Recipe Variations
Discover different variations of this recipe created by the community
No variations yet
This recipe hasn't been forked yet. Be the first to create your own variation!
In Cookbooks 1
This recipe appears in these community cookbooks
Showing 1 of 1 cookbook

Japanese Cuisine
A celebration of Japanese cooking, this cookbook explores the balance of tradition, technique, and flavor found in everyday dishes and timeless classics. From comforting staples to refined favorites, it brings the heart of Japanese cuisine into your kitchen.
Recipe by
Nutrition Facts
* Percent Daily Values are based on a 2000 calorie diet. Your daily values may be higher or lower depending on your calorie needs.
** Values are gathered via the original recipe source and/or estimated by AI. To find accurate nutrition information for your recipe, please consult a licensed nutritionist.
Reviews
No reviews yet
Be the first to share your thoughts!